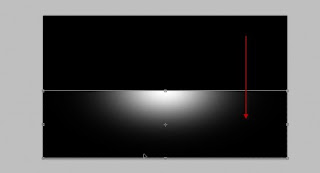
Create a new document sized 1200px * 700px, fill the background layer with black. Create a new layer and use a soft white brush to do a single-click to position shown below:
Hit Ctrl + T and compress this layer down as show below:
Use a soft brush to erase the bottom part of the base:
Step 2
Use the font you downloaded, type some text onto the canvas:
Add a layer mask to the this text layer:
Here is the effect after you add the mask:
Duplicate this text layer once, apply the following Gaussian Blur settings:
Reduce the opacity of the blurred text layer to around 50%, you will have the following effect:
Step 3
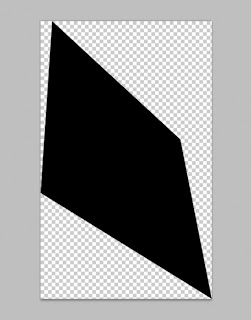
Now let’s make a particle brush. Create a new document (size doesn’t really matter), use pen tool to draw a shape and fill it with black colour:
After the fill, made the background layer “transparent”:
Go to Edit > Define Brushset and define a new brush:
Once you defined the brushset, press F5 and bring up the brush window, apply the following settings:
Shape Dynamics
Scattering
Other Dynamics
Make sure you tick the “Airbrush”, “Smoothing” and “Protect Texture” settings.
Step 4
Use the brush we just made, paint some random particles around the text, reduce the brush size where appropriate:
Optionally, once you finish the painting of the particles, duplicate the particle layer once and apply the following motion blur settings to it:
This will create a stripe effect on the text:
Also add a curves adjustment layer on top of all previous layers with following settings:
RGB
Red
Green
Blue
and here is the effect so far:


0 comments:
Post a Comment